
What to Do in the First 24 Hours After You Spot a Roof Leak
November 2, 2026 · 6 min read · By HomeGuard Roofing
There’s a particular sinking feeling that comes with looking up and noticing a brown stain blooming across your ceiling — or worse, hearing the steady plink of water landing in a bucket you never planned to own. In Dublin, that moment usually arrives between November and March, when the rain starts coming in sideways and every small weakness in a roof gets found out at once.
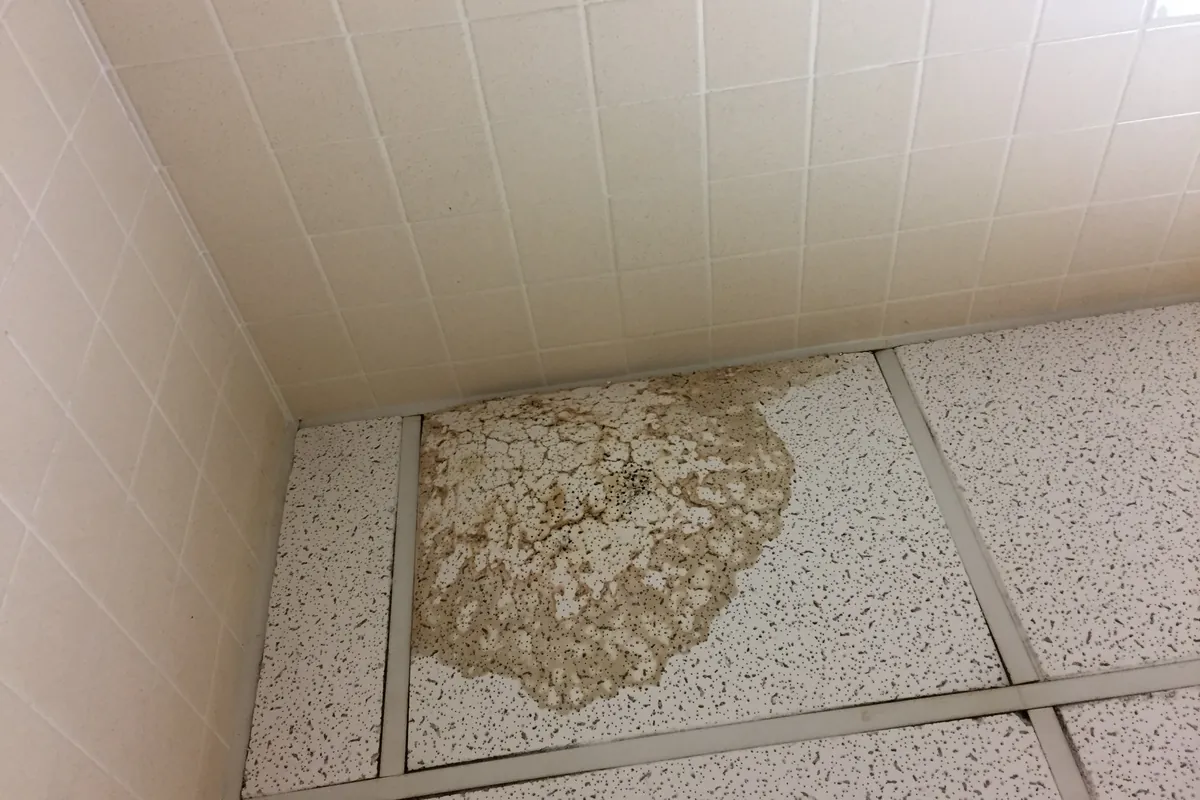
The first 24 hours matter more than most homeowners think. Not because the roof will collapse overnight — it almost certainly won’t — but because what you do (and don’t do) in that first day decides whether you’re looking at a straightforward repair or a much bigger bill down the road. Here’s the playbook.
Contain the water first
This sounds obvious, but do it properly. Put a bucket or a large pot directly under the drip, and spread towels around it — water splashes further than you’d expect. Move furniture, electronics, and anything that can’t get wet out from underneath. If the stain is on an upstairs ceiling, check the room below it too; water travels along framing before it shows itself, and the damage isn’t always where the drip is.
If the paint is bulging into a bubble, that bubble is holding water. Poking a small pinhole in its lowest point — with a bucket underneath — lets it drain in a controlled way instead of bursting on its own at 2 a.m.
Document everything before you touch it
Before you move the bucket or wipe anything down, take photos and a short video: the stain or drip, the setup underneath, any damaged belongings. Get a wide shot of the room and close-ups of the damage. If you can get into the attic safely, photograph any wet insulation or darkened wood up there as well.
This isn’t only for the roofer. If the leak came from storm damage — a wind-torn shingle, a fallen branch — your homeowner’s insurance may cover it, and adjusters love dated photos. Even for plain wear and tear, the pictures help the roofer know what they’re walking into.
Stay off the roof
I get the urge to look yourself, maybe throw a tarp over the spot. Don’t — not while it’s wet. The concrete tile covering half the roofs in Dublin Ranch and east Dublin gets slick as ice when damp. People get hurt every year on roofs a professional would walk without a second thought, because the professional knows exactly where to step.
If water is coming in hard and you can reach the attic safely, you can lay plastic sheeting up there to channel the drip into a bucket. That buys you time without anyone climbing anything. Otherwise, leave the roof alone until someone qualified gets up there.
Don’t “fix” it from the inside
That tube of caulk in the garage is not the answer. Smearing sealant on the underside of the leak — on the ceiling or the attic side of the deck — doesn’t stop water from getting in. It traps moisture inside the roof assembly, where it quietly rots wood and feeds mold. The leak is happening on top of the roof, and that’s the only place it can actually be fixed. Anything done from underneath just hides the symptom while the real problem keeps working.
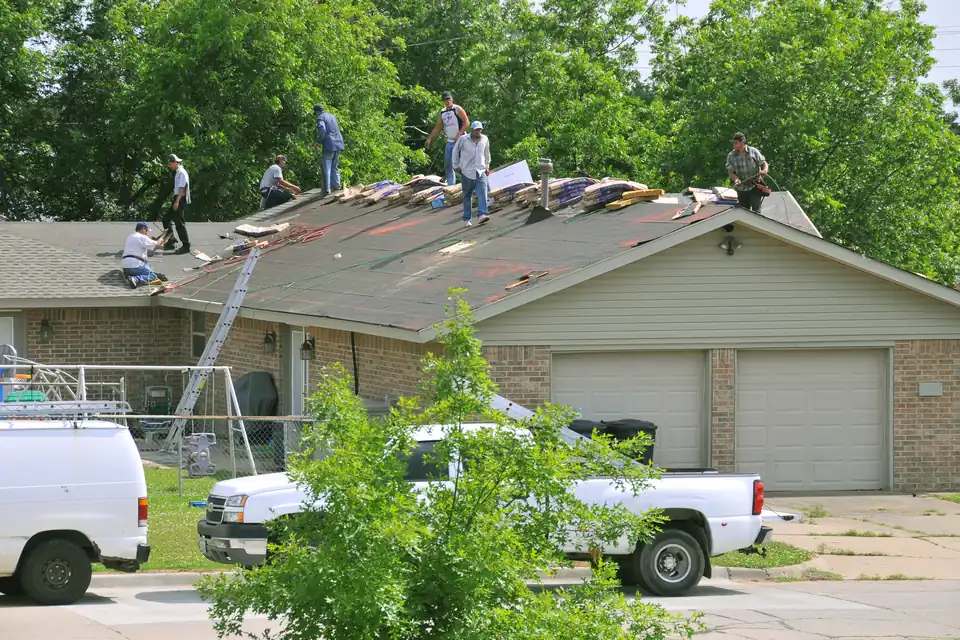
Call a roofer — and ask the right questions
This is the step most people rush, and it’s the one that matters most. When you call, ask three things: will you check the attic as well as the roof, will I get photos of what you find, and will the quote be itemized in writing? If the answer to any of those is no, keep dialing.
A proper roof leak repair inspection covers the roof and the attic, because the stain on your ceiling is almost never directly beneath the entry point. Water runs along the deck and down rafters before it shows itself. A good roofer traces it to the source instead of guessing — sometimes with isolated water testing, wetting one roof section at a time while someone watches inside.
Know when it’s an emergency
Most leaks can wait a day or two for a proper inspection. But treat it as an emergency if water is streaming in rather than dripping, if a section of ceiling is sagging or feels soft to the touch, or if you can see daylight through the roof from inside the attic. Those mean active damage or a structural concern, and something temporary — a tarp, an emergency seal — needs to go on before the next rain band rolls through. In a Dublin winter, that can be a matter of hours.
A few Dublin-specific things worth knowing
On the concrete tile roofs common in Dublin Ranch, Positano, and the newer east side neighborhoods, the tiles themselves are rarely the culprit. The real waterproofing is the underlayment underneath, which typically wears out after 20 to 30 years. A leak on a 25-year-old tile roof usually means the underlayment is finished — a known, fixable problem, not automatically a whole new roof.
If you’re in an HOA community, check whether exterior roof work needs architectural approval first. Most Dublin HOAs require it, and a roofer experienced in Dublin Ranch or Wallis Ranch will usually handle the paperwork. And if the job turns out to be a re-roof rather than a repair, the City of Dublin requires a permit — one your contractor should pull, not you.
What happens next
After the inspection you should walk away with three things: photos of the actual problem, a plain-English explanation of what failed and why, and an itemized price before any work begins. Small fixes — a failed flashing, a cracked vent boot, a slipped tile — can often be done in a day.
That stain on your ceiling is annoying, but it’s also useful: it’s your roof telling you where to look. Handle the first day right — contain, document, stay off the roof, and call someone who’ll find the actual cause — and you’ll end up with a dry house and a repair bill instead of a renovation project.
Spotted a Stain or a Drip?
Call HomeGuard Roofing at (925) 644-8514. We’ll trace the leak to its real source and give you an itemized price in writing — with photos, so you can see exactly what we see.
☎ Call (925) 644-8514